The method for stretching Biang Biang noodles is a unique hand-pulling technique. Here’s a breakdown of how it’s done, from dough to finished noodle.
Step 1: Make and Rest the Dough
It all starts with the dough. High-gluten flour is mixed with salt and water, then kneaded until smooth. The dough must rest for at least 30-40 minutes at room temperature. This resting period allows the gluten to relax, which is absolutely essential for stretching the noodles later without them breaking.
Step 2: The Signature Stretch-and-Slap Technique
This is the most famous part of the process. Here’s how the noodles are stretched:
The rested dough is rolled into strips and brushed with oil.
Each strip is flattened with the palm, and a groove is pressed down its center with a rolling pin.
Holding both ends, the chef stretches the dough outwards. They then expertly slap or “wrestle” the dough against the counter. This slap isn’t just for show—it’s a clever way to gently lengthen the dough while managing its elasticity.
This cycle of stretching and slapping is repeated rhythmically. The distinctive “biang biang” sound of the dough hitting the counter is how the noodles got their name!
Step 3: Key Tips for Success
So, how do you stretch Biang Biang noodles to perfection? Remember these points:
Patience is key: Don’t rush the initial rest. For even better results, letting the dough rest overnight in the refrigerator makes it incredibly pliable.
Work with rhythm, not just force: If the dough resists and becomes too elastic, let it rest on the counter for a moment or use the slapping technique to relax it again. This prevents the noodles from snapping.
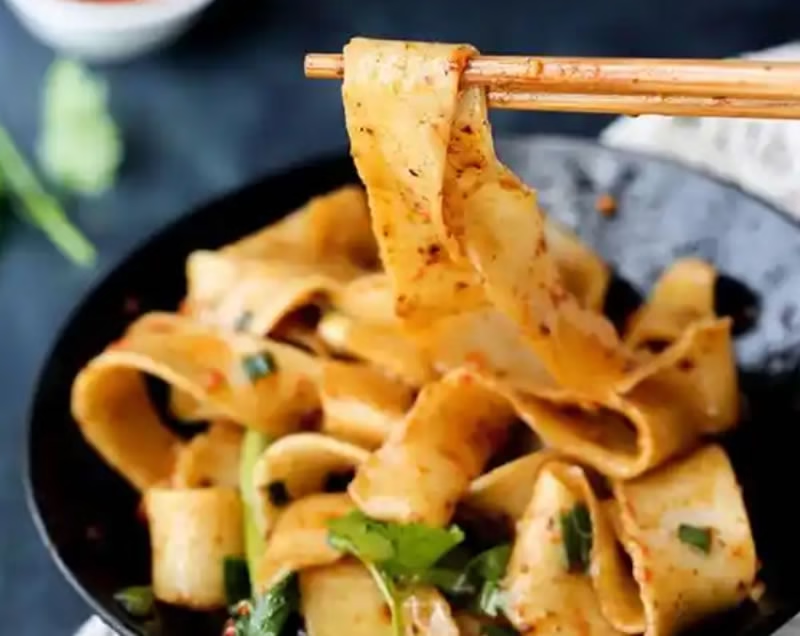
Through this rhythmic process of stretching and slapping, the dough is gradually transformed into the long, wide, and wonderfully chewy noodles we all love.